Everbare Eyelash Lift Tutorial

Step by Step

User notice

If you experience any issues or need to contact us, please feel free to DM us @everbarebeauty or email us via info@everbarebeauty.com and one of our experts will help you.

Instructions for product use and disposal with icons and text on a white background

Tutorial Video

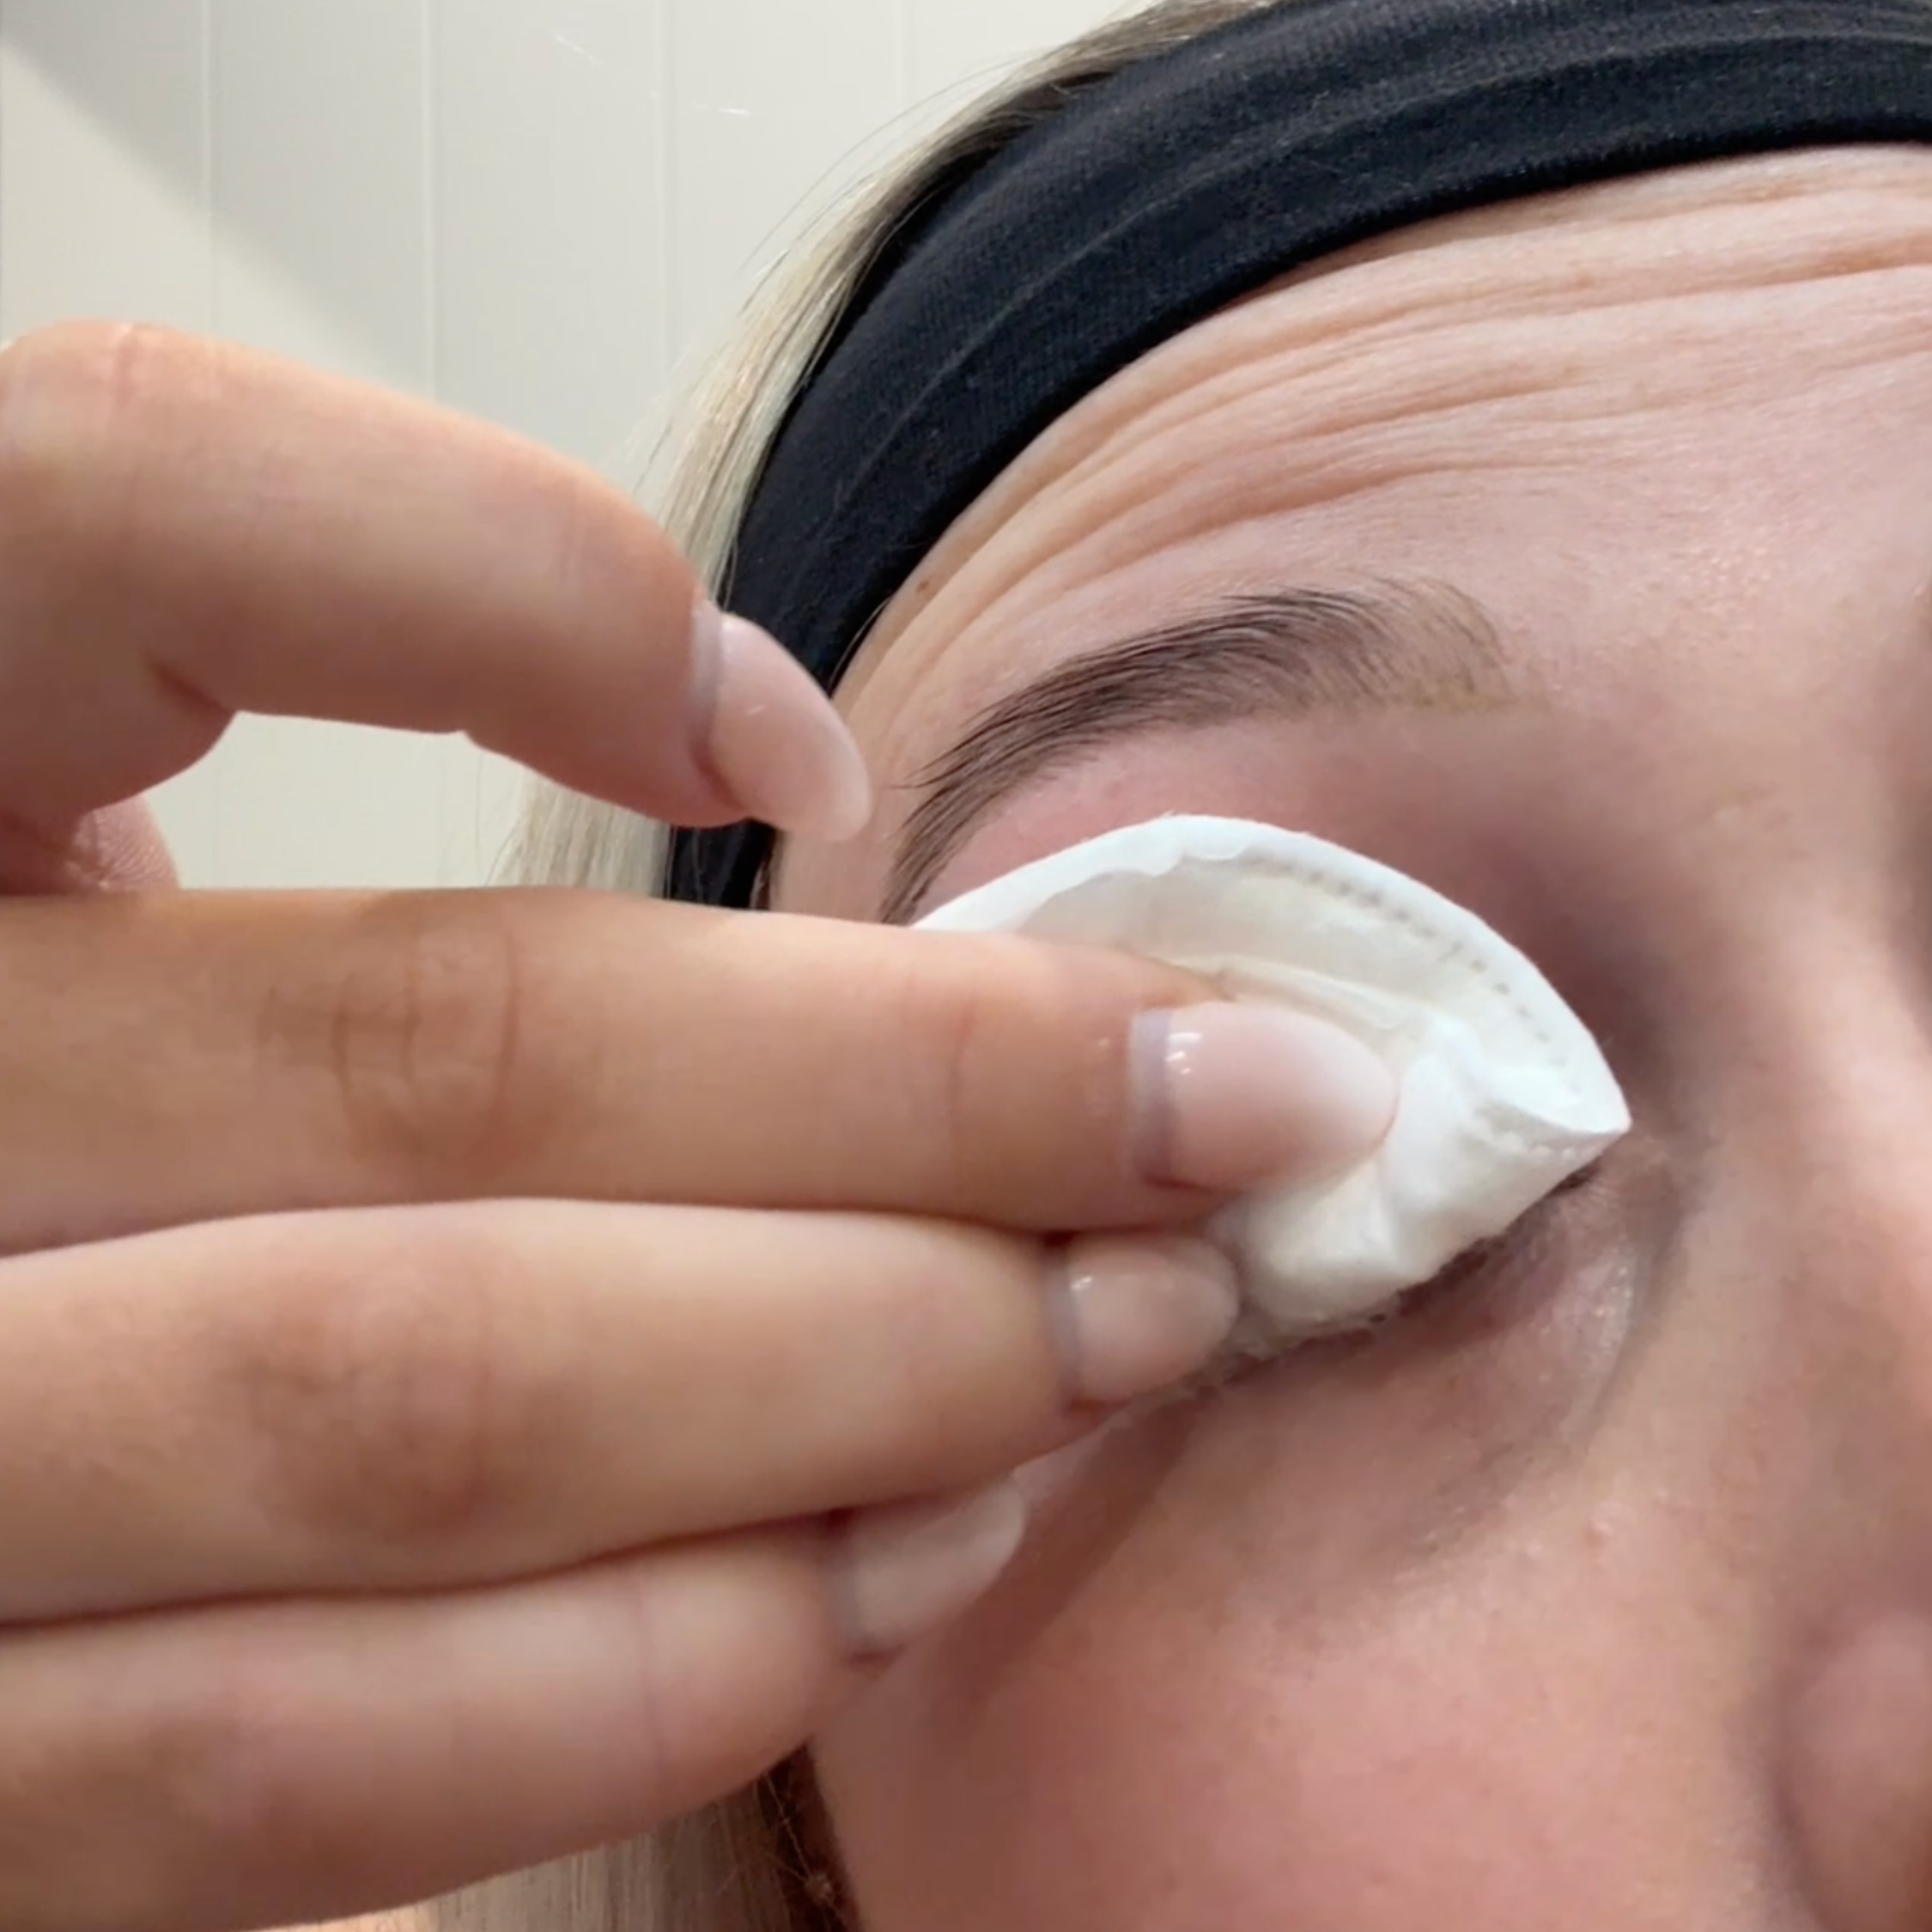
Person wiping eyes to clean their eyelashes

01

Prep

  • Start by making sure your lashes are completely clean and free of any makeup, oils, or residue. Use the cleanser on a cotton pad to thoroughly clean the eye area and lashes.

  • Once clean, pat your lashes dry. It’s important that your lashes and eyelids are completely dry - this helps the silicone lift pads stick properly to the eyelid.

02

Apply the Silicone Pad

  • Choose the appropriate size lift pad for your desired result. Smaller pads (S) create a more dramatic curl, while larger pads (M or L) give a softer, more natural lift. For shorter lashes, the (S) is usually recommended to achieve the best curl.

  • Apply lash adhesive to the back (flat surface) of the silicone pad. Wait 15-20 seconds.

  • Stick the pad to your upper eyelid, just above the lash line, and press it down firmly for about 30 seconds to ensure it sticks perfectly.

  • Place more glue on the pad and on your eyelid if you’re having trouble getting the pad to stick.
Person applying a silicon pad to eyelid for an eyelash lift at home
Person using a Y-brush to stick lashes on a silicon pad for a eyelash lift

03

Apply Glue & Fix Lashes

  • Apply a thin layer of lash glue to the silicone pad.

  • Wait 10–20 seconds for the glue to get tacky before placing your lashes.

  • Gently lift and press your lashes upward onto the pad using the Y-shaped brush. They won’t stick immediately, so take your time. Make sure your lashes are straight, even, and pressed closely to the pad with no gaps.

  • For tricky lashes, use a little extra glue and press them down for longer. Ensure all eyelashes are stuck to the pad before continuing.

04

Apply Lifting Lotion

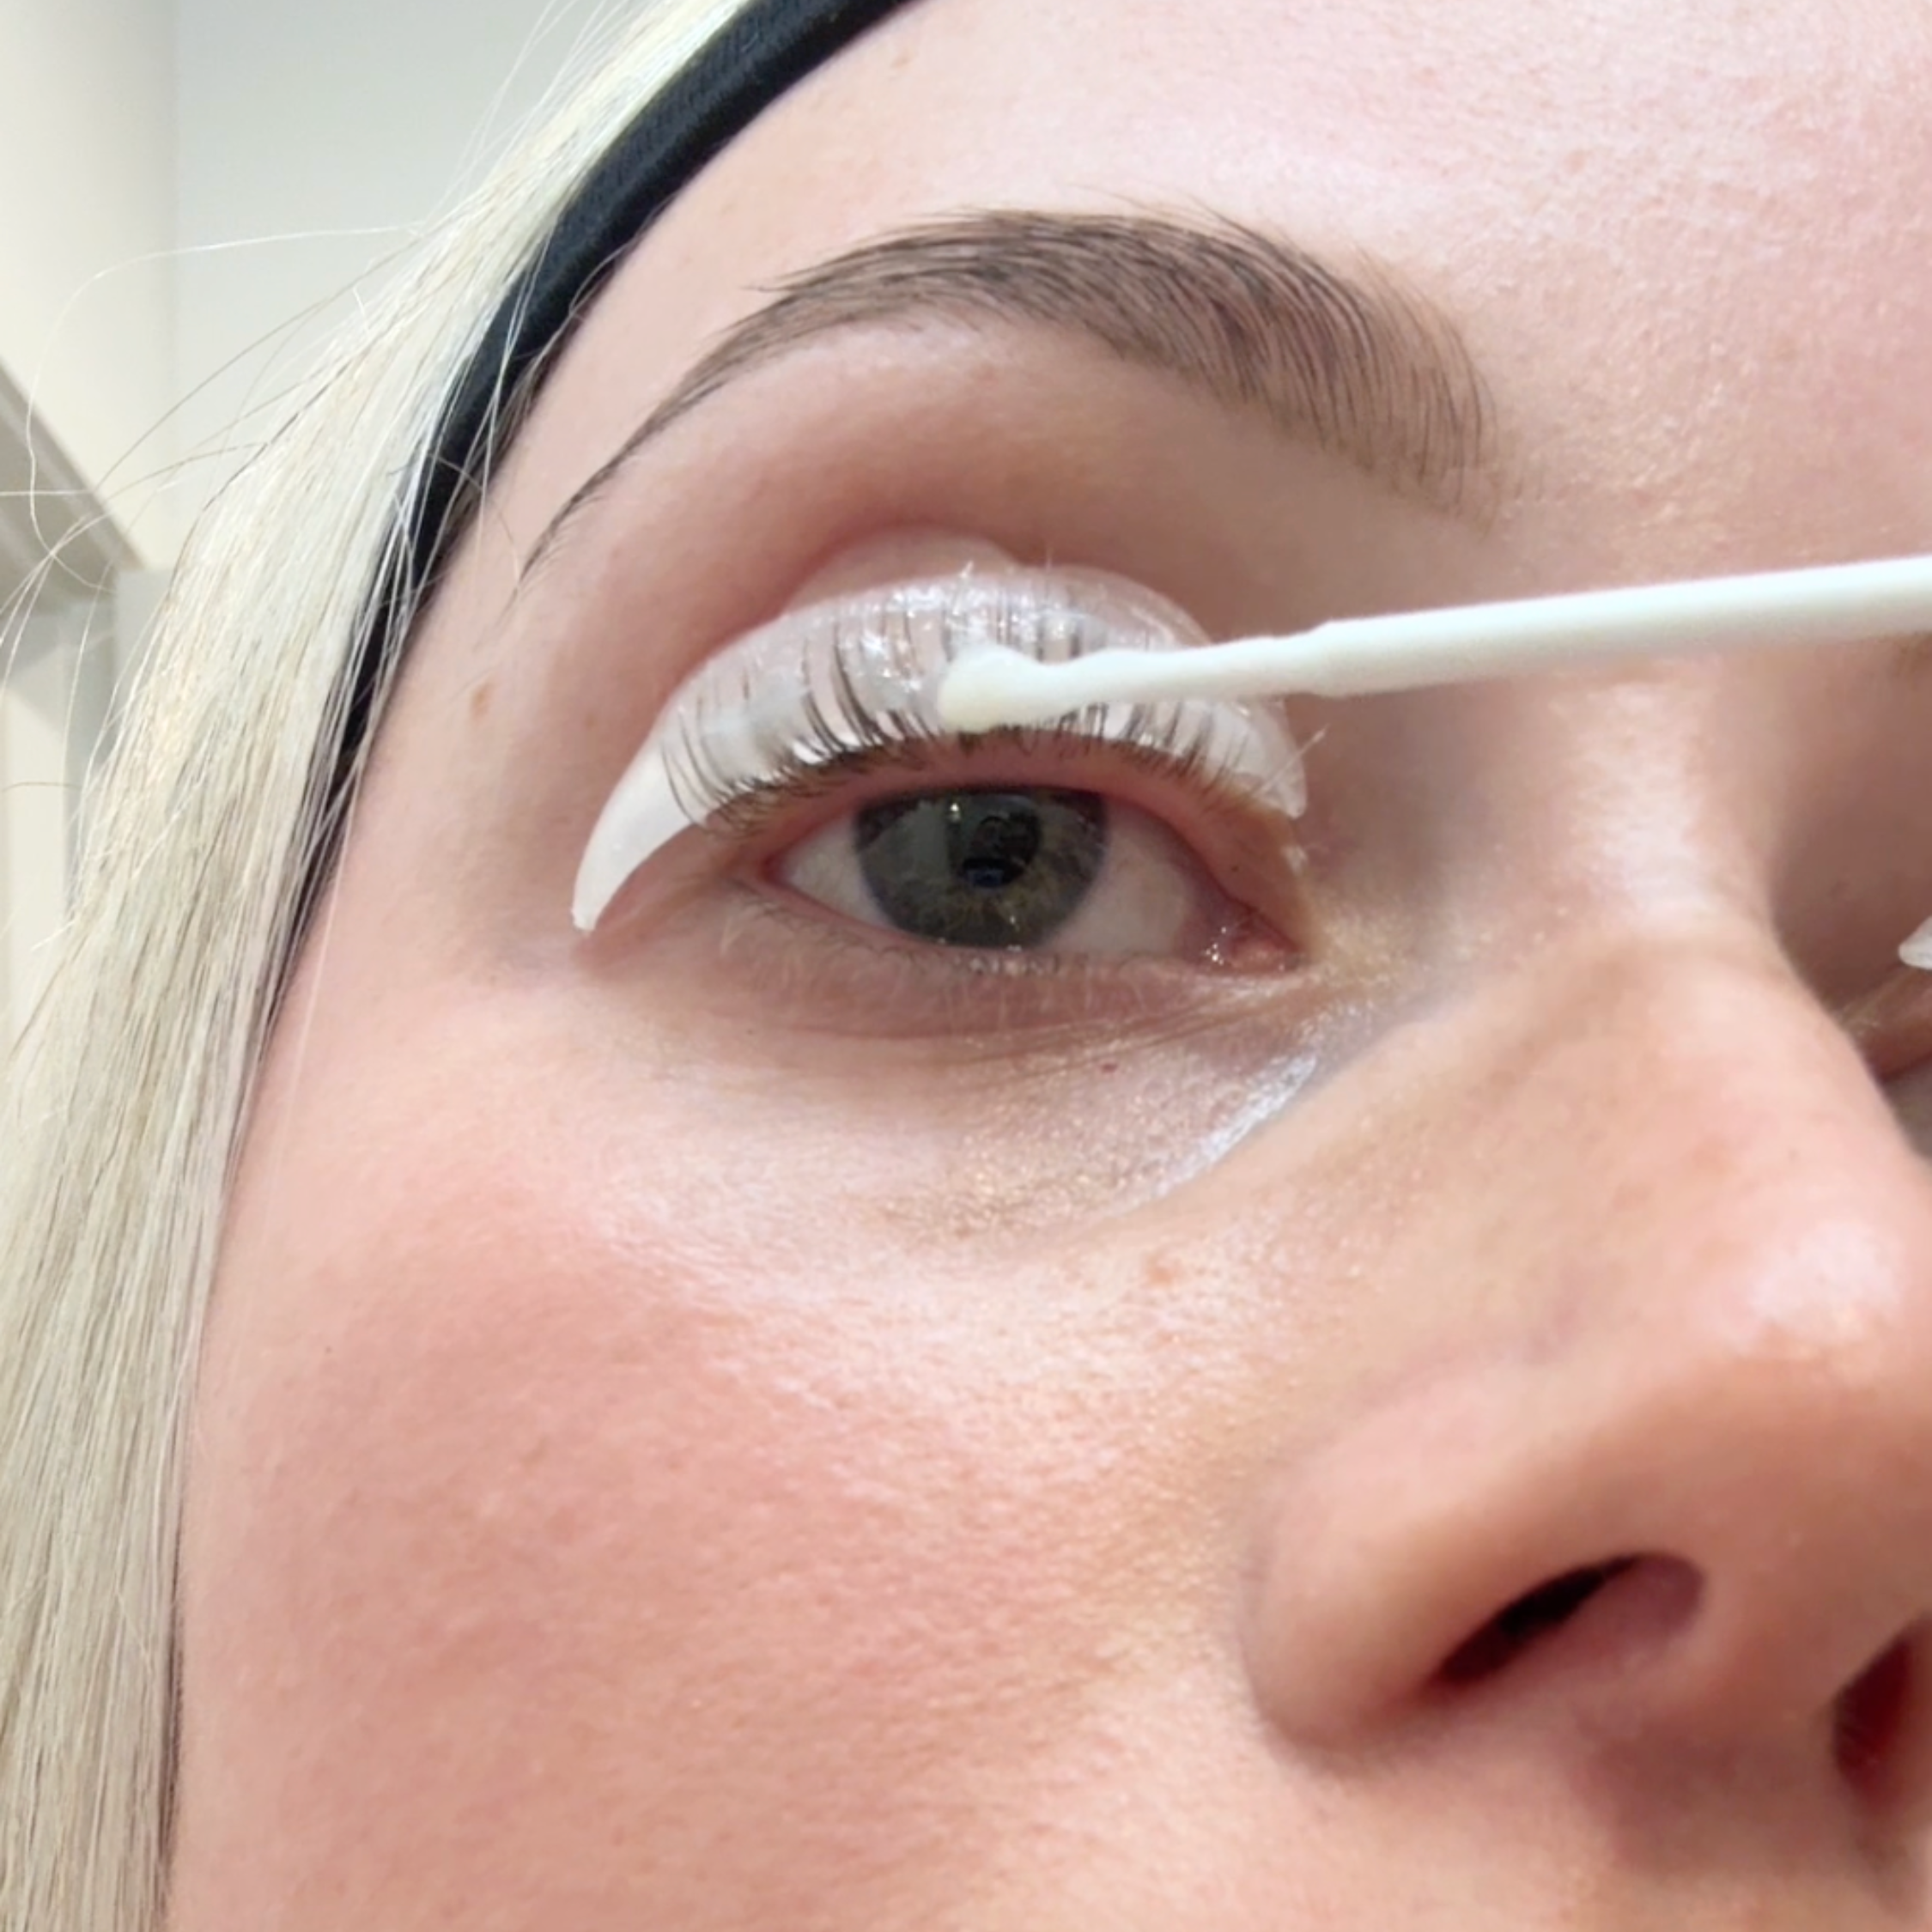
  • Gently pump the Lifting Lotion onto a cotton swab applicator, using less force and a slower motion to avoid squirting.

  • Gently apply Lifting Lotion to the middle section of your lashes (avoid the lash tips and waterline).

  • Cover lashes with cling wrap.

  • Leave on for 13–16 minutes, depending on lash thickness:
  1. Normal lashes: 13–14 minutes
  2. Thicker or downward-pointing lashes: 15–16 minutes
  • Once time is up, remove the lotion gently from the waterline up using a dry cotton swab.
Applying lifting lotion on eyelashes for a lash lift at home
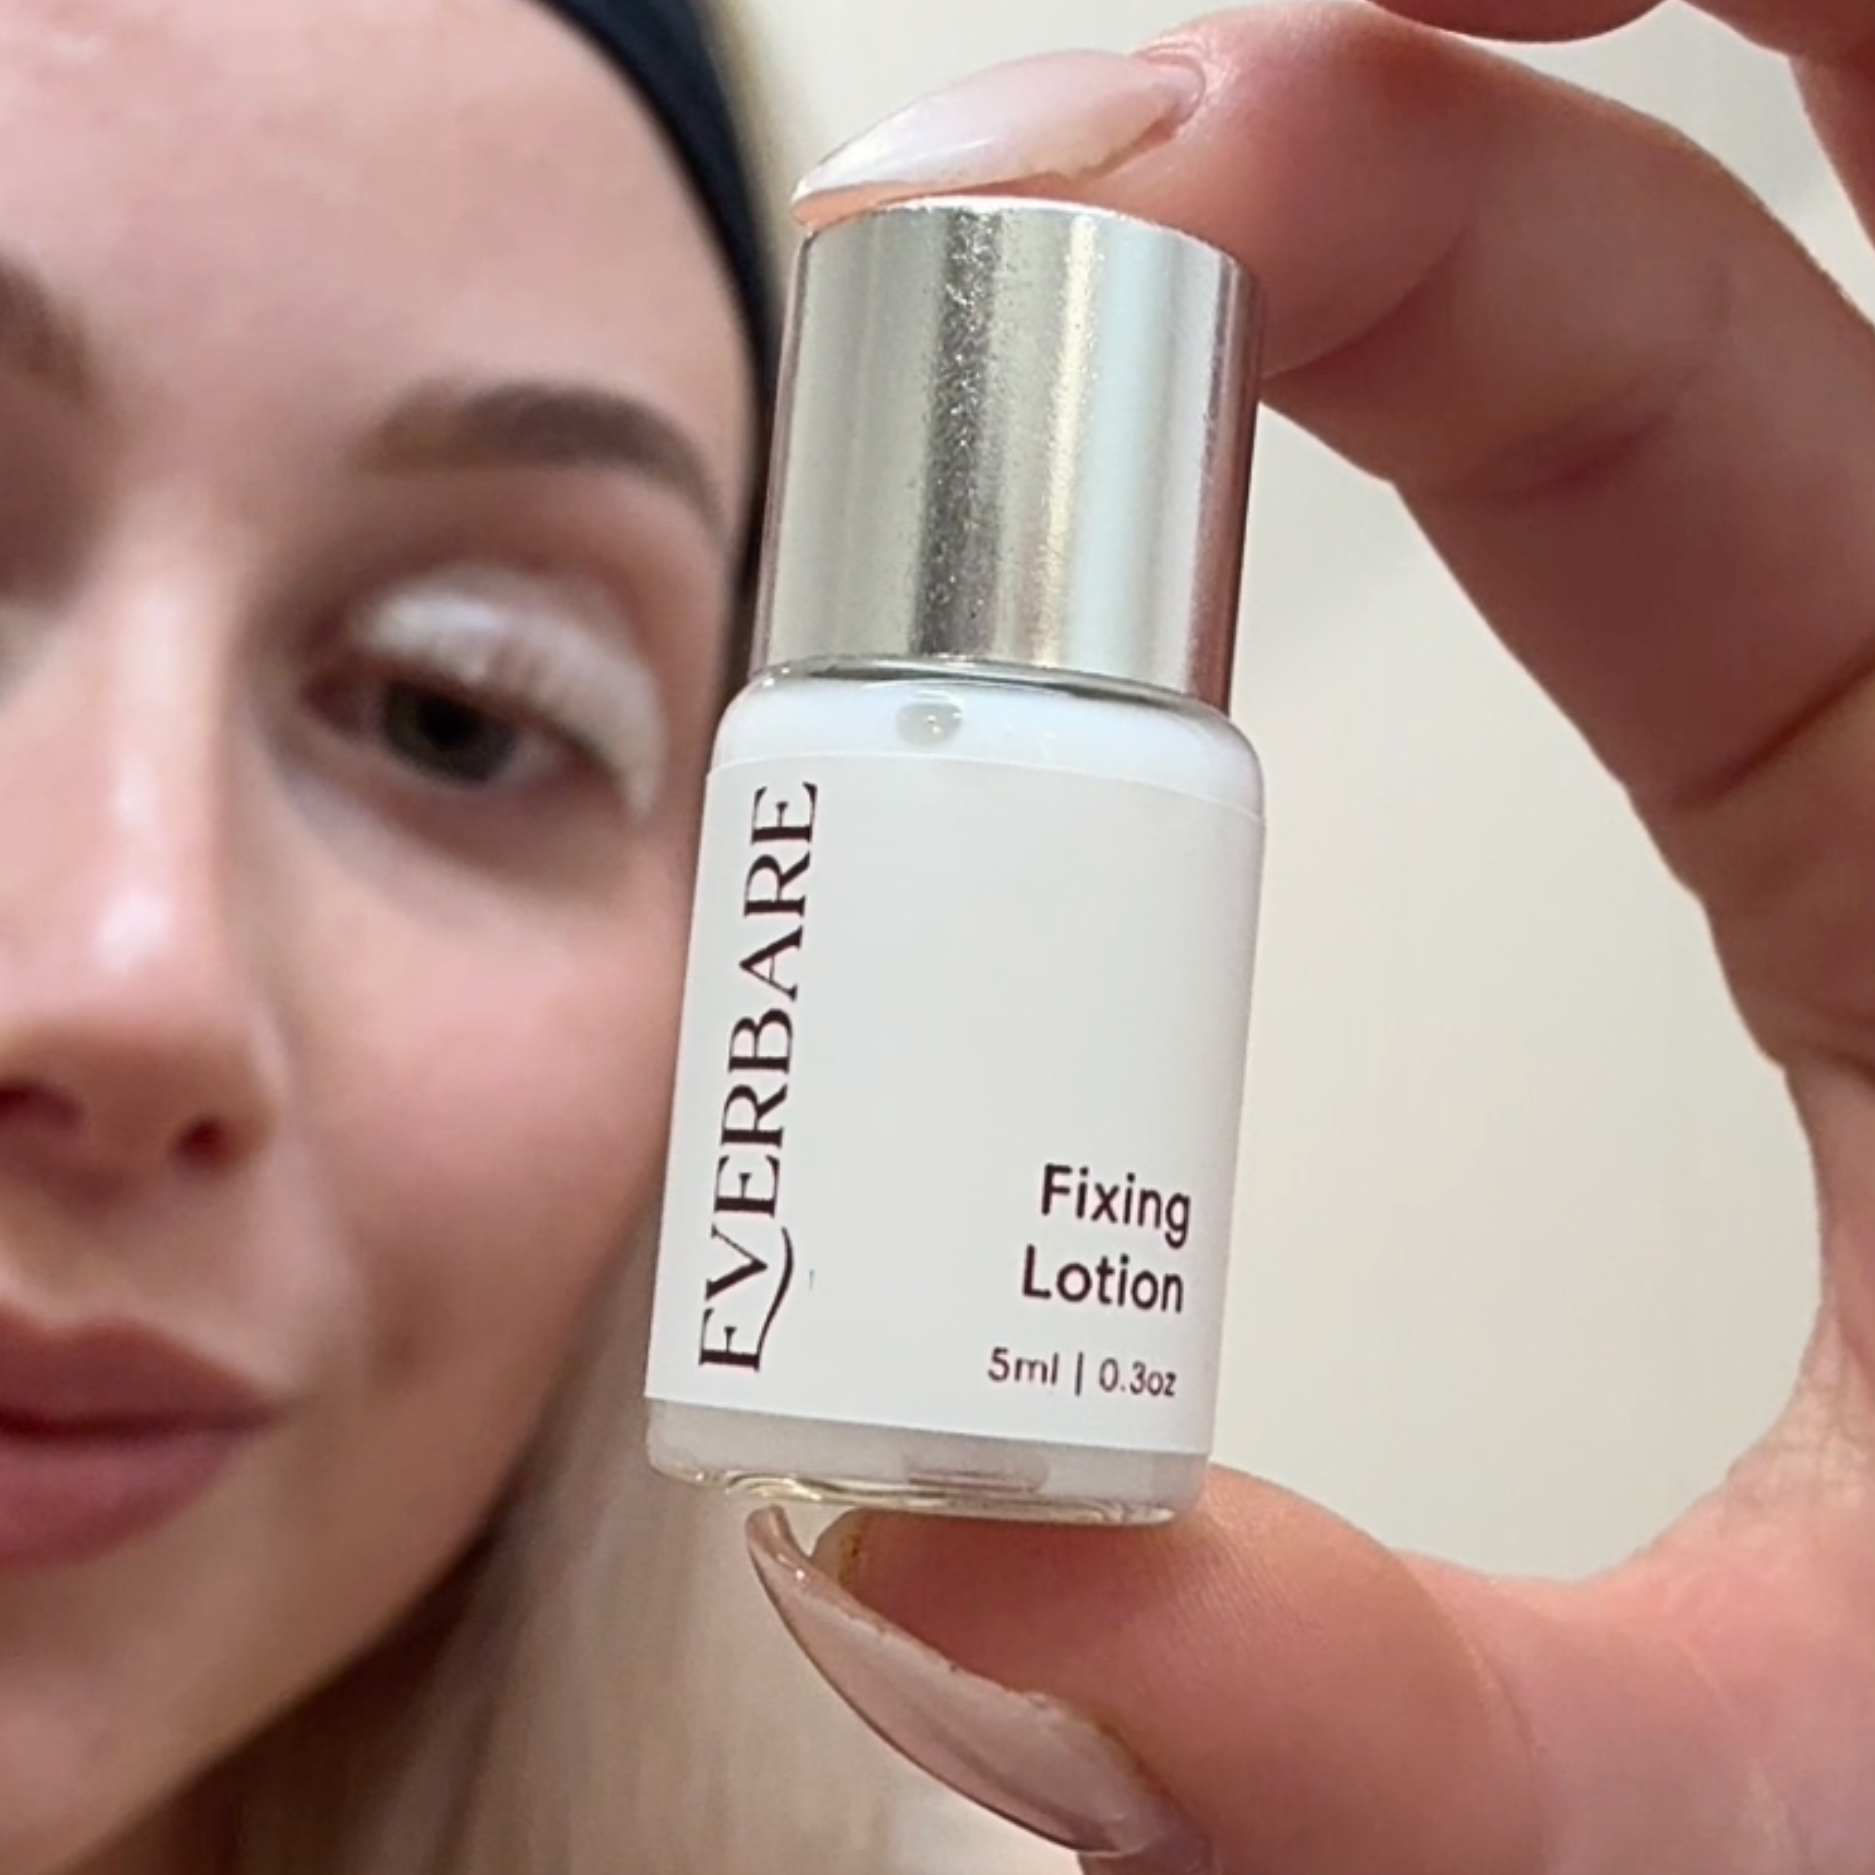
Person holding a bottle of Everbare Fixing Lotion close to their face.

05

Apply Fixing Lotion

  • Follow step 4 using the Fixing Lotion.

06

Optional Tinting

  • Apply your mixed lash tint from mid lash to tip, avoiding your waterline.

  • Let it develop for 10 minutes.

  • Wipe off thoroughly with a dry cotton swab ensuring you don’t get close to your waterline.
Applying tint formula to eyelashes using a brush
Person wiping eyes to clean their eyelashes

07

Clean Up

  • Use the cleanser on a cotton pad to gently detach the lashes from the silicone pad - this helps avoid any damage or pulling.

  • Carefully remove the silicone pad from the eyelid.

  • Clean the eyelid thoroughly with the cleaner on a cotton pad to remove any glue or colour residue.

08

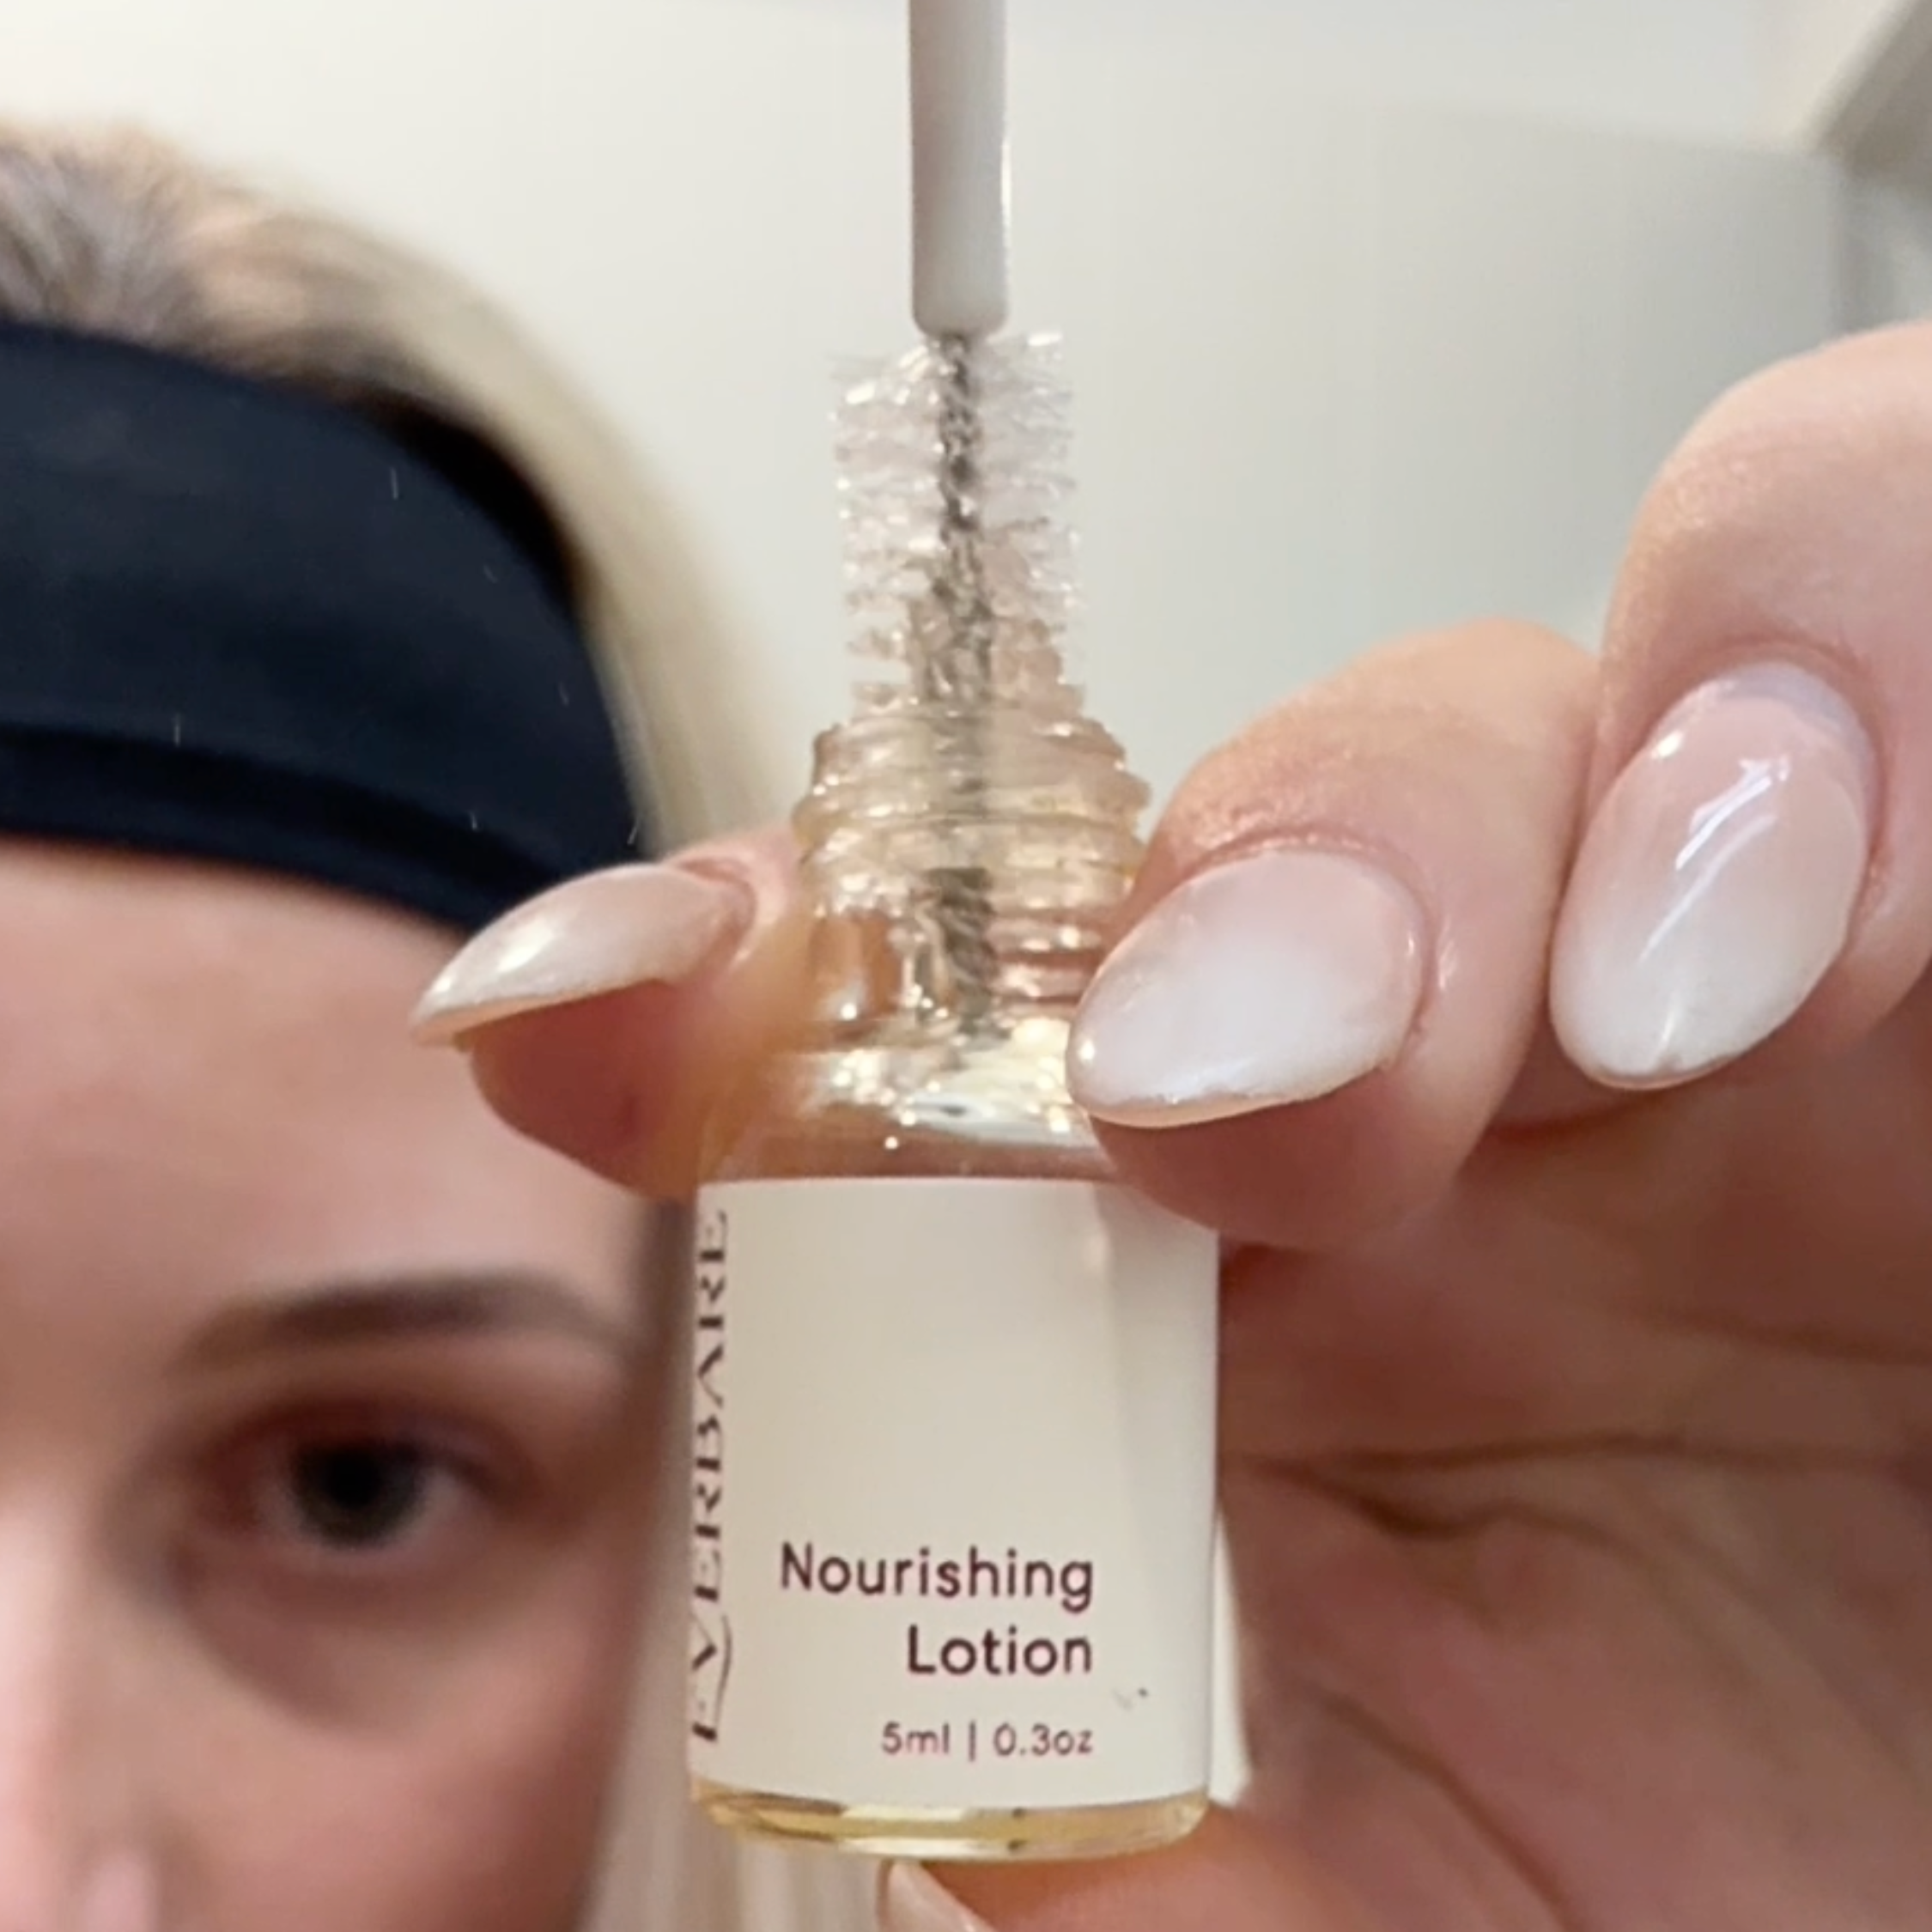
Apply Nourishing Lotion

  • Apply Nourish Lotion using a mascara wand to hydrate and restore your lashes from base to tip to lock in the lift and shine.
Hand holding a bottle of 'Nourishing Lotion' with a close-up of the label.

THE SECRET TO LONG LOOKING LASHES

Aftercare

First 48 Hours

  • Keep lashes dry – avoid water, steam, saunas, hot showers, and sweat.

  • Skip products around the eyes – no oils, lotions, or eye-area shampoos, as these can weaken the lift.

  • Hold off on eye makeup, especially mascara. If needed, start using it again after 24–48 hours.

  • Be gentle – don’t rub or pull at your lashes, and try to avoid sleeping face-down or on your side.
Woman holding a 'EVERBARE Lash Lift Kit' box in front of her face.

Ongoing Care

  • Use oil-free mascara and makeup remover to maintain the lift.

  • Avoid waterproof mascara and harsh products to prevent premature breakdown.

  • Sleeping on your back during the first few nights helps maintain the lifted shape.
Safety

Avoid contact with eyes and skin.

  • Always wear suitable protective gloves when handling.
  • Wash skin thoroughly after use.
  • Keep out of reach of children.

If product gets in eyes:

Rinse cautiously with water for several minutes. Remove contact lenses if present and easy to do. Continue rinsing. If eye irritation persists, seek medical advice.

If product contacts skin:

Wash with plenty of water. If irritation or rash occurs, seek medical advice.

Ingredients

Lifting Lotion: Aqua, Cetearyl Alcohol, Urea, Isopropyl Myristate, Ethanolamine, Ammonium Bicarbonate, Behentrimonium Methosulfate, Parfum, Stearamidopropyl Dimethylamine, Ceteareth-30, Ammonia, Sodium Hydroxide, Vitis Vinifera Seed Oil, Cysteamine HCI.

Fixing Lotion: Aqua, Cetearyl Alcohol, Hydrogen Peroxide, Triethylhexanoin, Dodecylhexadecyltrimonium Chloride, Laureth-25, Disodium Phosphate, Vitis Vinifera Seed Oil.

Nourishing Lotion: Aqua, Propylene Glycol, Prunus Persica Kernel Oil, Niacinamide, Hydroxyethylcellulose, PEG-40 Hydrogenated Castor Oil, Persea Gratissima Oil, Caprylhydroxamic Acid, Vitis Vinifera Seed Oil, Capryloyl Glycine, Butylene Glycol, 1,2-Hexanediol, Inosito, Tocopherol, Naringin.

Adhesive: Aqua, Polyvinyl Alcohol, Caprylhydroxamic Acid, Allantoin, Methylparaben.

Cleanser: Aqua, Glycerin, Methylpropanediol, Propylene Glycol, Hamamelis Virginiana Leaf Extract, Betaine, Allantoin, Methylparaben, Caprylhydroxamic Acid, Glyceryl Caprylate, Sodium Hyaluronate, Hydroxyacetophenone.

Why haven’t my lashes lifted properly?

If your lashes didn’t lift, it’s often due to rushing the process. Pay extra attention to the perm and fixation lotions — if removed too early, the lashes won’t absorb them properly.

Also, check the lash pad size you used. The pad is crucial:

  • Short lashes = use a small (S) pad for a stronger curl.
  • Long lashes = use a medium (M) or large (L) pad to avoid over-curling.

Make sure to follow the steps and timing exactly. If needed, ask someone to help you the first time for better results.

Join the Everbare Movement

We’re proud to be a New Zealand-owned brand built on passion, purpose, and the belief that beauty should never be stressful. With Everbare, you can feel confident, capable, and beautiful with no salon appointment necessary.

Welcome to the future of beauty. Welcome to Everbare.